Automation Series allows you to manage multiple triggers in one setup for both email and…
How to create a list on yournotify
Creating a list is pivotal for your campaign’s success. Lists enable targeted audience segmentation, ensuring messages are tailored to specific demographics and interests. Here is a step-by-step guide on how to create a list on yournotify.
STEP 1: Locate the “Audience” section on your dashboard
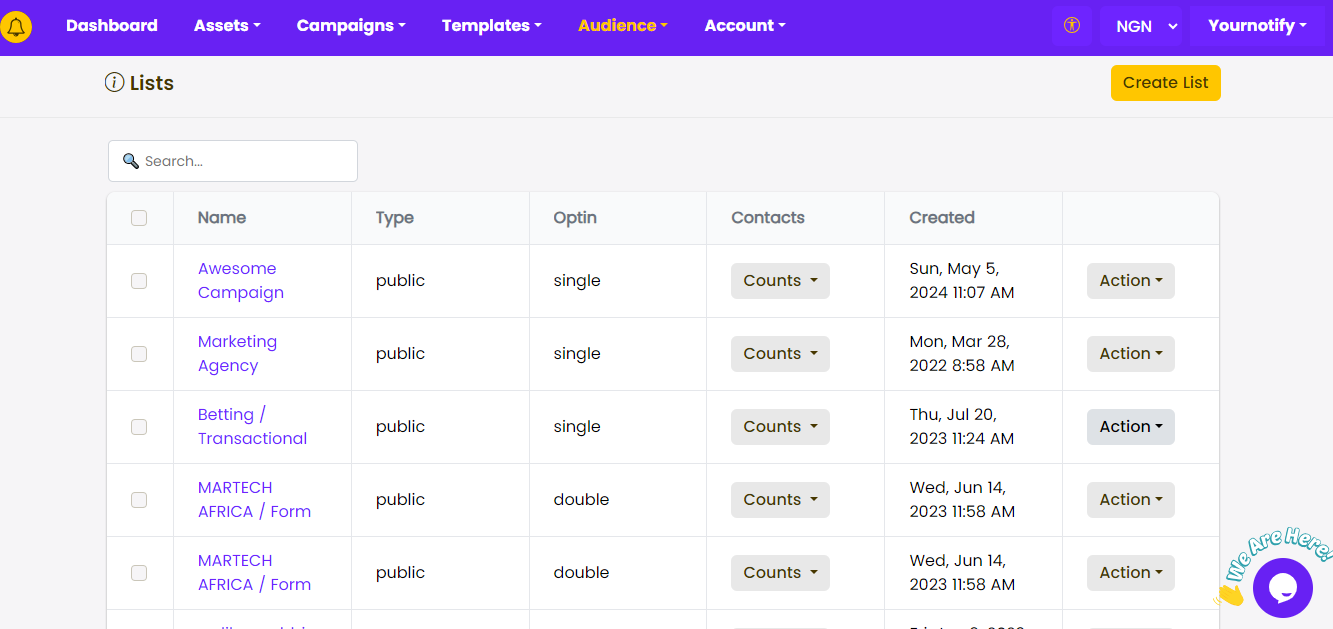
STEP 2: Click on “Lists” from the drop-down menu.

STEP 3: Click on “Create List”
STEP 4: Fill in the necessary details and select either “Single opt in” or “Double opt in”. (Single Opt-in: This method does not necessitate asking for permission from contacts on your list. Double Opt-in: This method requires you to seek permission from contacts on your list.)
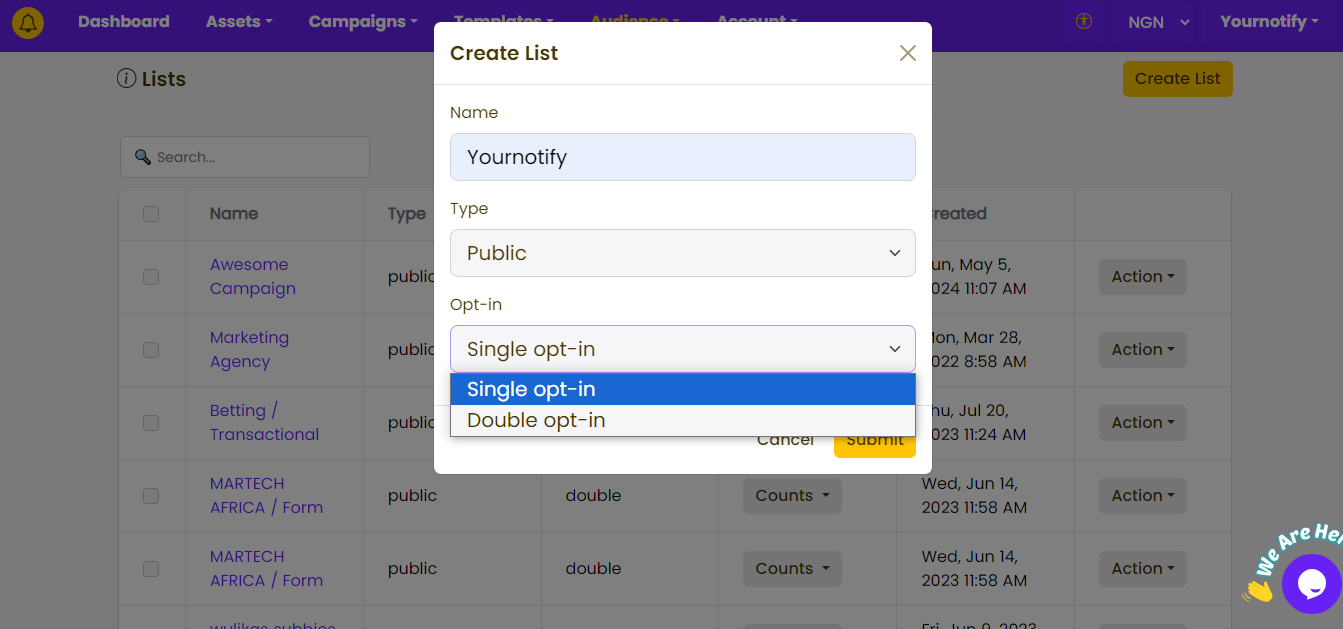
STEP 5: Click on “Submit”.
For more information, please visit our FAQs section: Frequently asked questions
